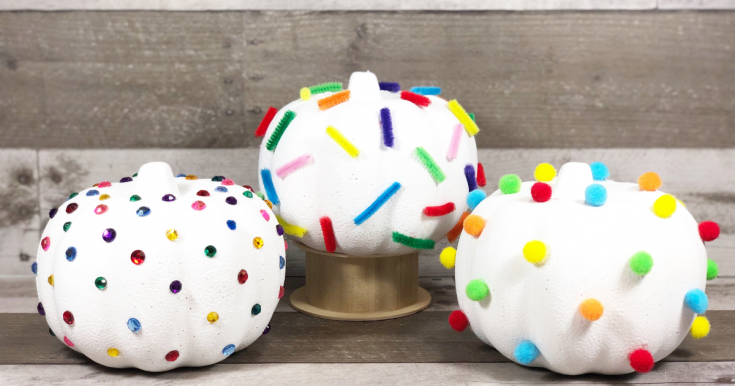
Who doesn’t love pompoms and sprinkles and sequins, and aren’t they perfect to turn Dollar Tree pumpkins into DIY Pretty Pumpkins?
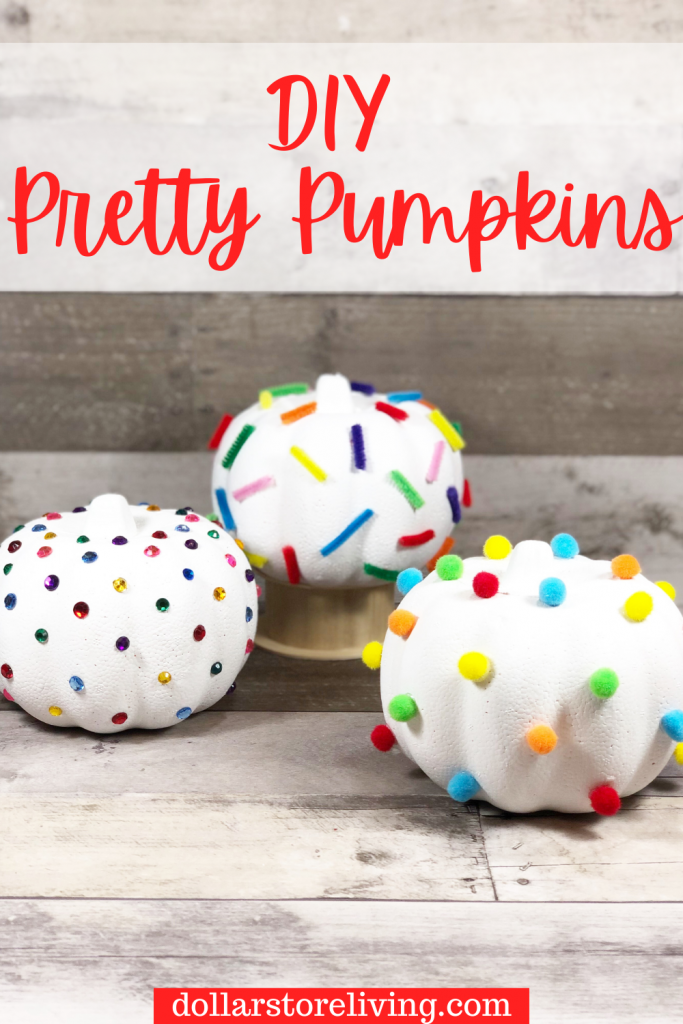
I have to say my favorite is the sprinkles pumpkin. It just looks so cute! These look so good on the fireplace or the mantle.
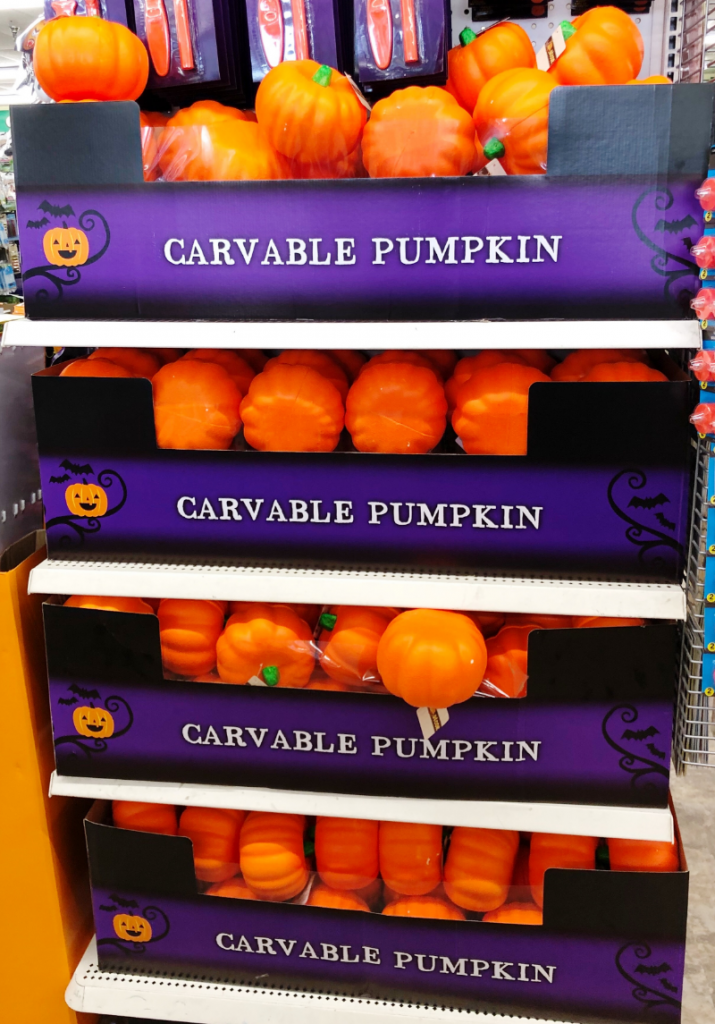
These little carvable pumpkins at the Dollar Tree are perfect to let your kids decorate a pumpkin, too. It’s also a great learning project as they work on measuring, sorting and counting activities as you craft.
What do you need to make these DIY Pretty Pumpkins?
You can pretty much get it all at the Dollar Tree:
- 3 carvable pumpkins
- a package of pompoms
- a package of multicolored chenille stems
- a package of sequins
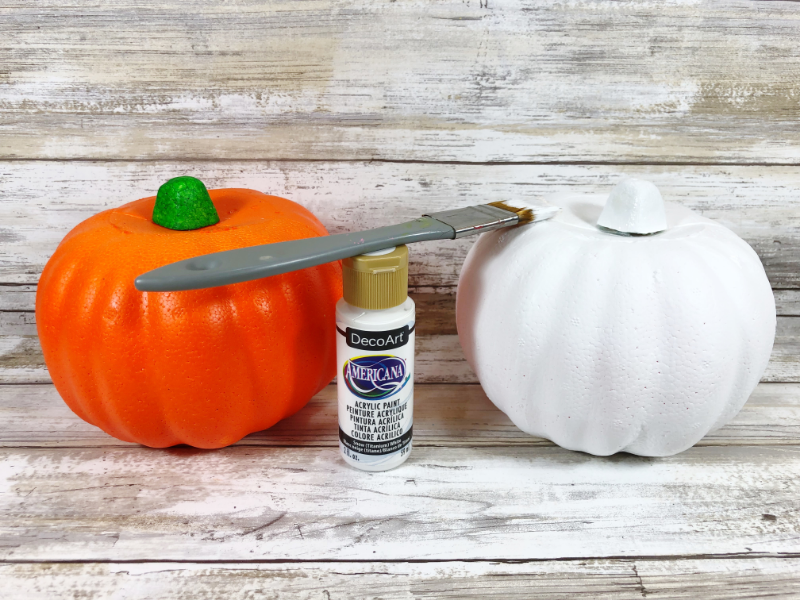
You’ll also need white craft paint, a paint brush, wire cutters, and some glue, which you probably have on hand.
How do make these pretty pumpkins all white?
Basecoat all three pumpkins with white craft paint, and allow them to completely dry. You probably will need to apply a second and third coat, if necessary, letting each coat dry completely.
How do you create the Sprinkles Pretty Pumpkin?
For the “sprinkle” pumpkin, cut 1” lengths from assorted colors of the chenille stems. I recommend doing this with wire cutters or a crappy pair of scissors. Do not use your nice scissors as it will ruin them.
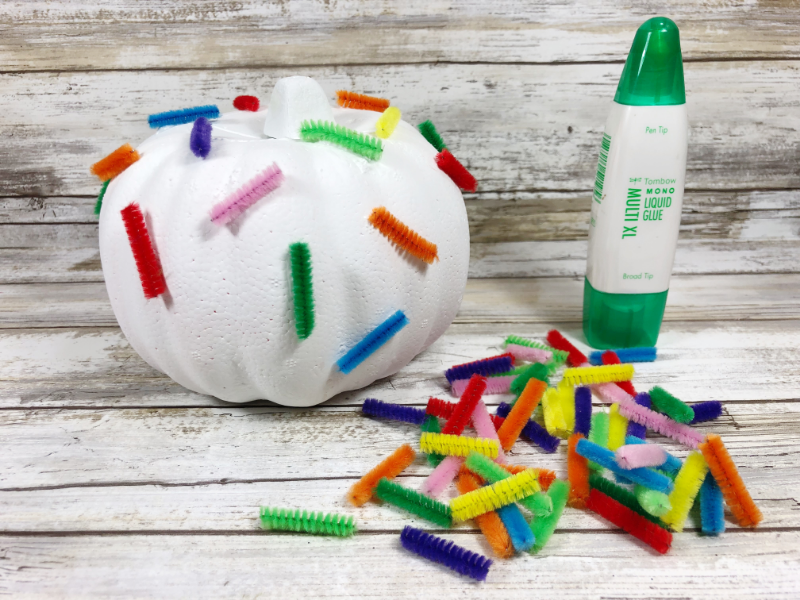
To attach the sprinkles to the pumpkin, apply lines of liquid glue on the pumpkin surface and place the chenille stem pieces in a random fashion, filling in all available spaces.
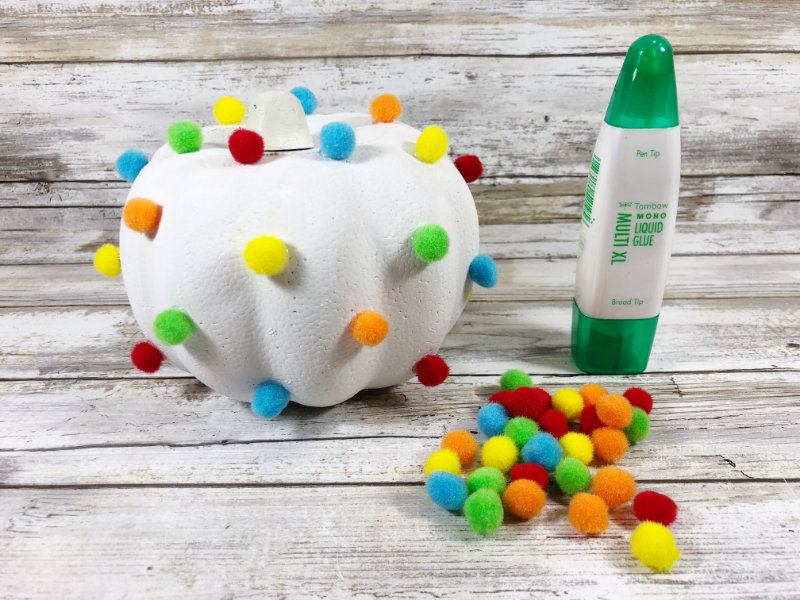
How do you create the Polka Dot Pretty Pumpkin?
For the “polka dot” pumpkin, apply dots of liquid glue on the pumpkin surface and place the pompoms in various colors in a random fashion, filling in all available spaces.
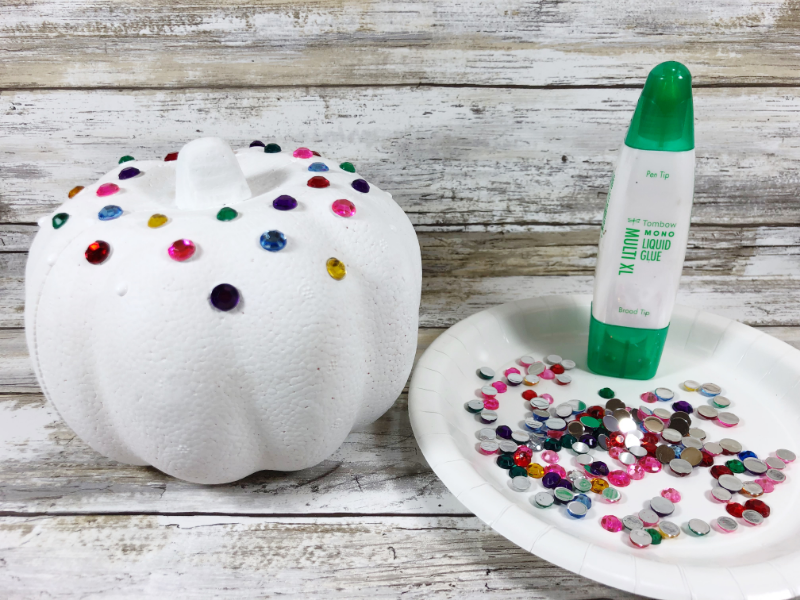
How do you create the Bejeweled Pretty Pumpkin?
For the “bejeweled” pumpkin, apply dots of liquid glue on pumpkin surface and place assorted colors of rhinestones on in a random fashion in close proximity at the top and gradually spacing out more as the sequins go down the sides of the pumpkin.
More Dollar Store Halloween Crafts
Dollar Tree DIY Pretty Pumpkins
Materials
- Dollar Store Foam Pumpkins - Three
- Dollar Store Pom Poms – Assorted Colors
- Dollar Store Rhinestones – Assorted Colors
- Dollar Store Chenille Stems – Assorted Colors
- Acrylic Craft Paint – White
- Liquid Glue with a fine tip applicator
Tools
- Paintbrush
- Scissors
Instructions
Basecoat all three pumpkins with white craft paint, let dry. Apply a second and third coat, if necessary, letting each coat dry completely.
For the “sprinkle” pumpkin, cut 1” lengths from assorted colors of chenille stems. Apply lines of liquid glue on pumpkin surface and place chenille stem pieces on in a random fashion, filling in all available spaces.
For the “polka dot” pumpkin, apply dots of liquid glue on pumpkin surface and place pompoms in assorted colors on in a random fashion, filling in all available spaces.
For the “jeweled” pumpkin, apply dots of liquid glue on pumpkin surface and place assorted colors of rhinestones on in a random fashion, filling in all available spaces.
Liked this article and want more? Follow along on Instagram, Facebook, Twitter, Pinterest, and YouTube!