I have made these tiered trays for years with thrift store supplies, but making a Dollar Store Tiered Tray with Dollar Tree supplies is even cheaper! This post contains affiliate links.

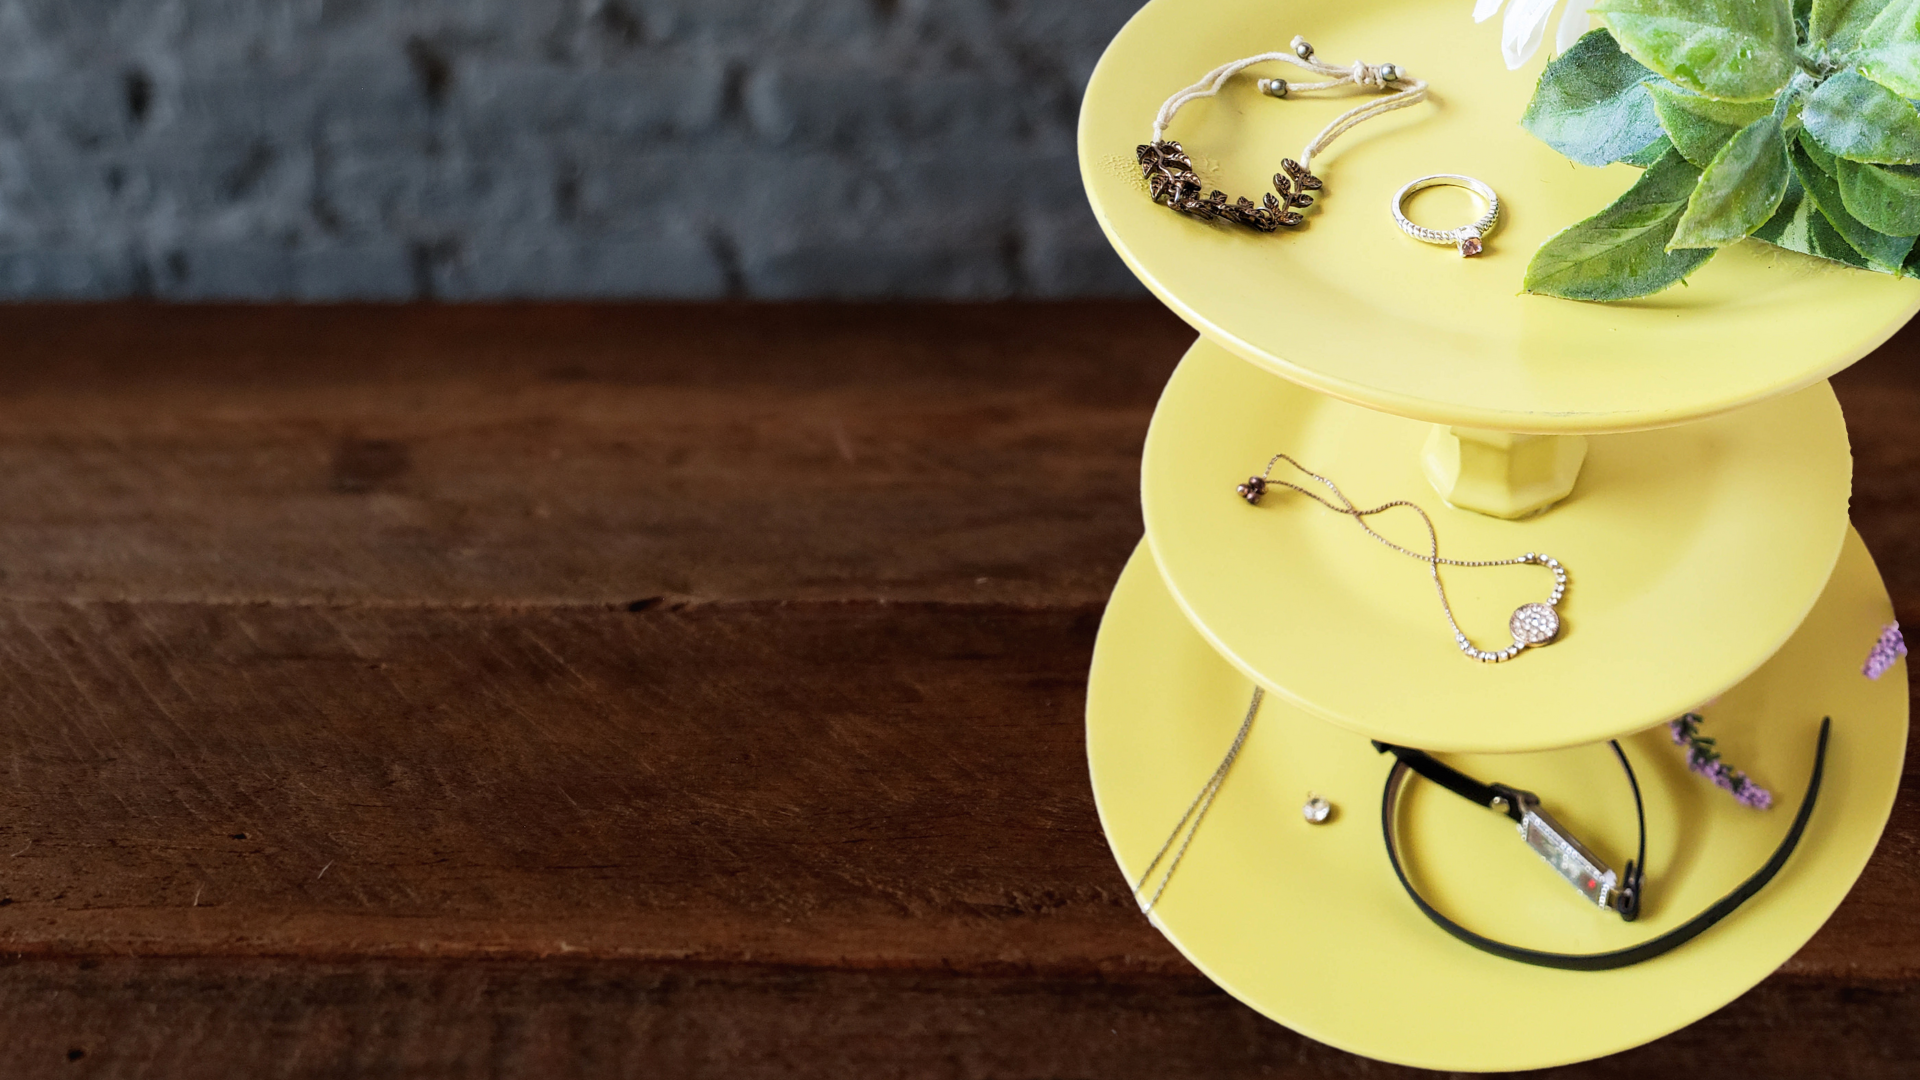
You can use them for all sorts of things from in the kitchen to on the dresser to even the bathroom. I love using them for displaying appetizers or small desserts for parties.
Our master bath has double sinks, and there is a small space between our sinks. I found one of these tiered trays works perfectly. Each layer has different things, from my makeup to my husband’s beard supplies to toothpaste.
What do you need to make a Dollar Store Tiered Tray?
Here’s what you need:
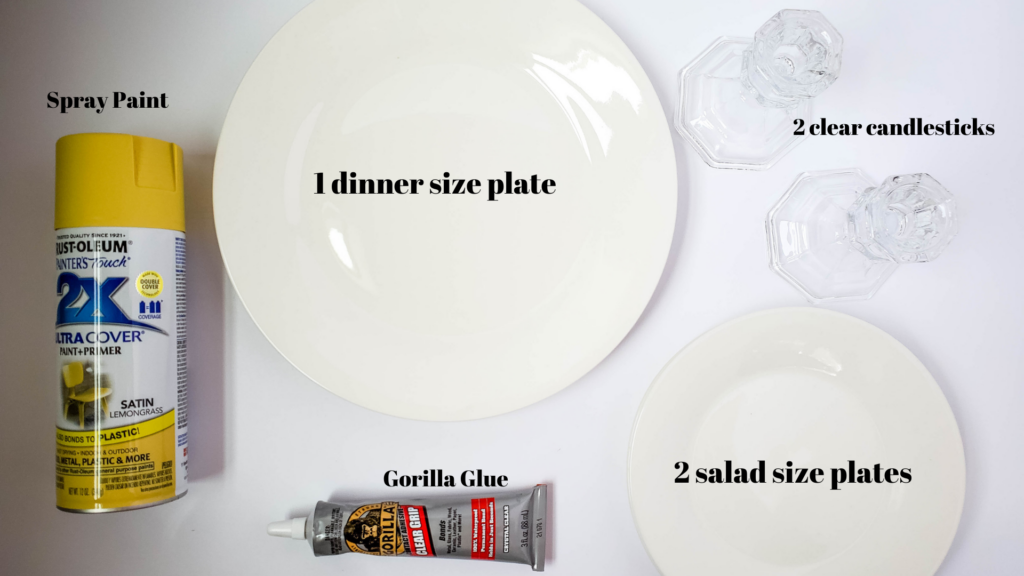
- 1 dinner size white plate
- 2 side size white plates
- 2 clear candlesticks
- Gorilla glue or similar
- Colored spray paint
How do you make a Dollar Store Tiered Tray?
Just so you don’t get confused, please note that the candlesticks will be upside down in this project. So, make sure you do that when assembling the tiered tray.
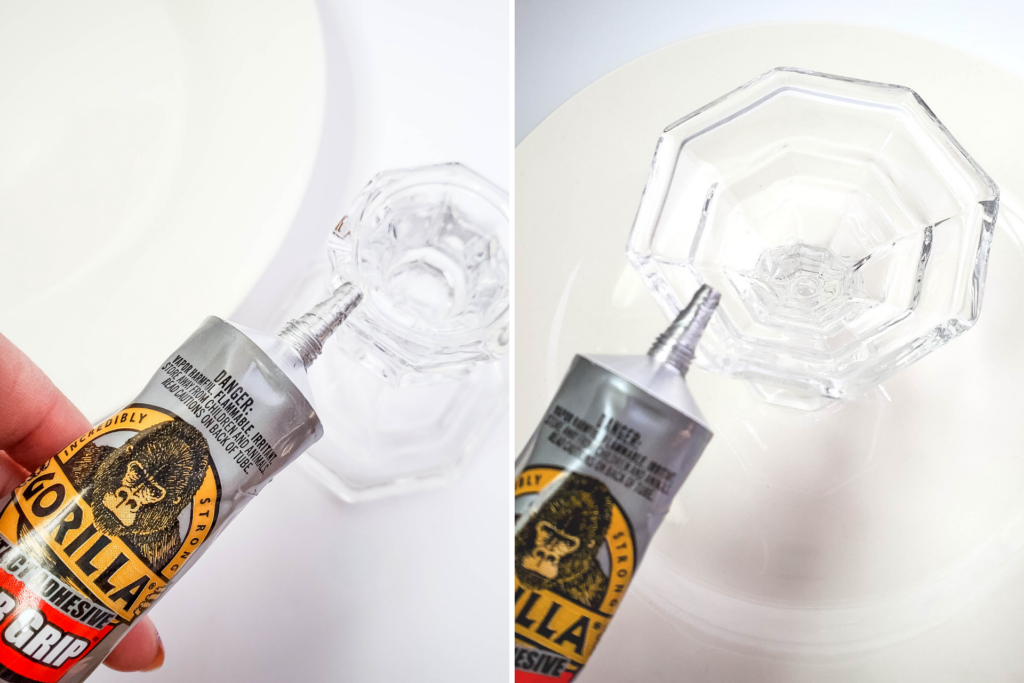
Begin by applying glue around the rim of the top of one candlestick and adhere it to the middle of the large dinner plate. Let set for a few minutes to dry a bit.
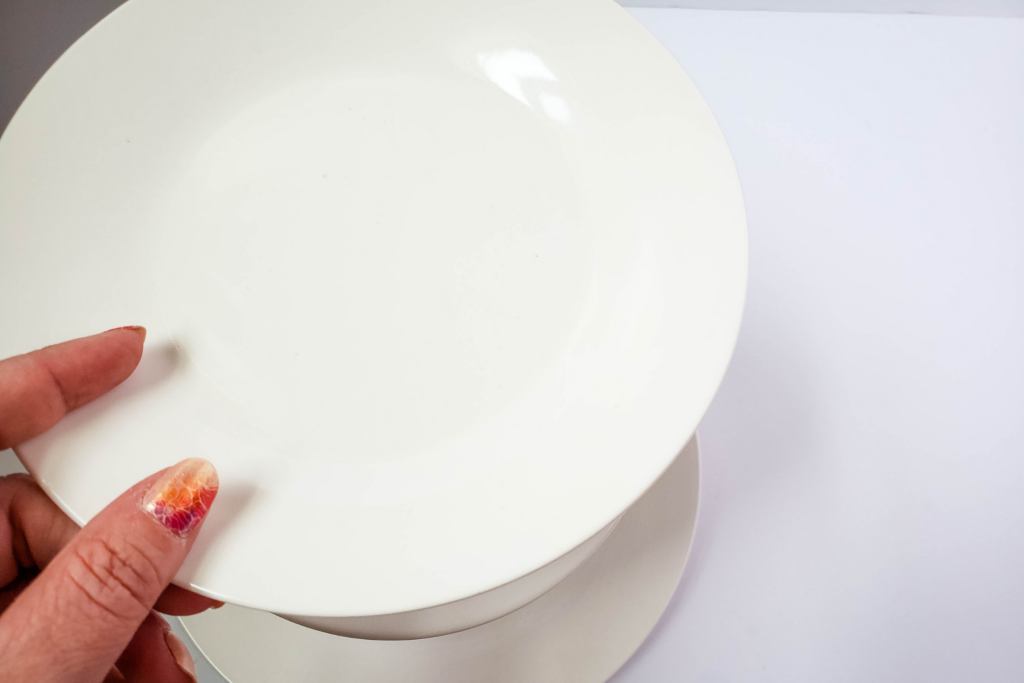
Apply glue around the rim of the other end of the candlestick, and place one of the smaller plate centered on it. Let set for a few minutes to dry a bit.
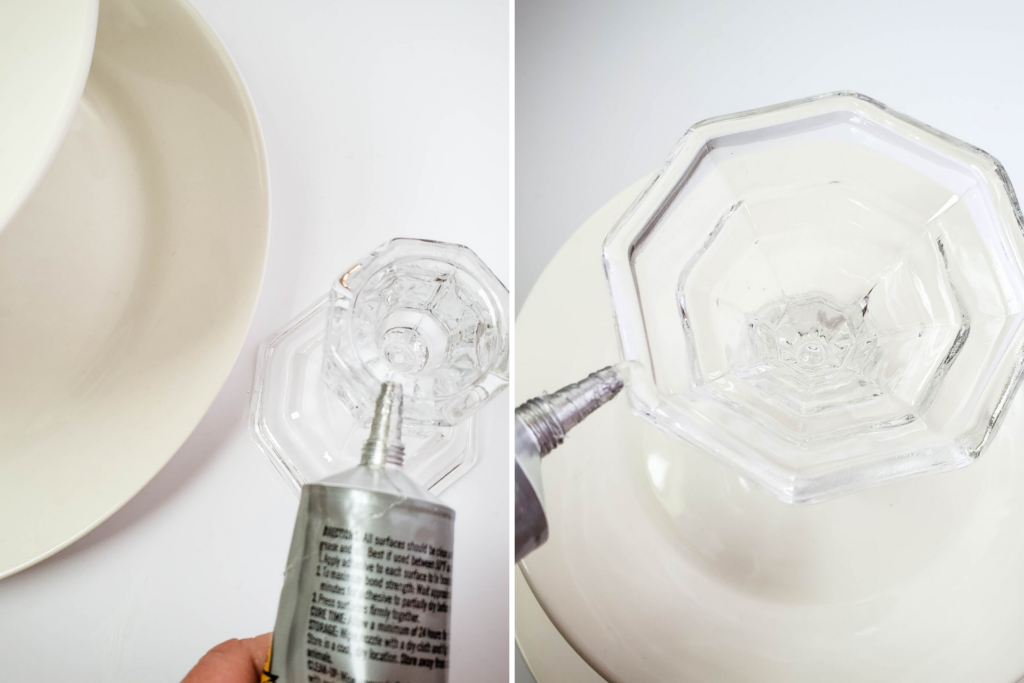
Apply glue around the rim of the top of one candlestick and adhere it to the middle of the smaller plate. Let set for a few minutes to dry a bit.
Apply glue around the rim of the other end of the candlestick, and place the other smaller plate centered on it. Let set for a few minutes to dry a bit.
Let the glue fully dry and work it’s magic overnight.
Lay some newspaper or something down to protect your work space, and set the tiered jewelry tray on top of it.
Shake the spray paint well, and spray your project.
Allow the paint to dry, then flip over to paint the bottom.
I recommend adding an extra coat of paint, for best coverage.
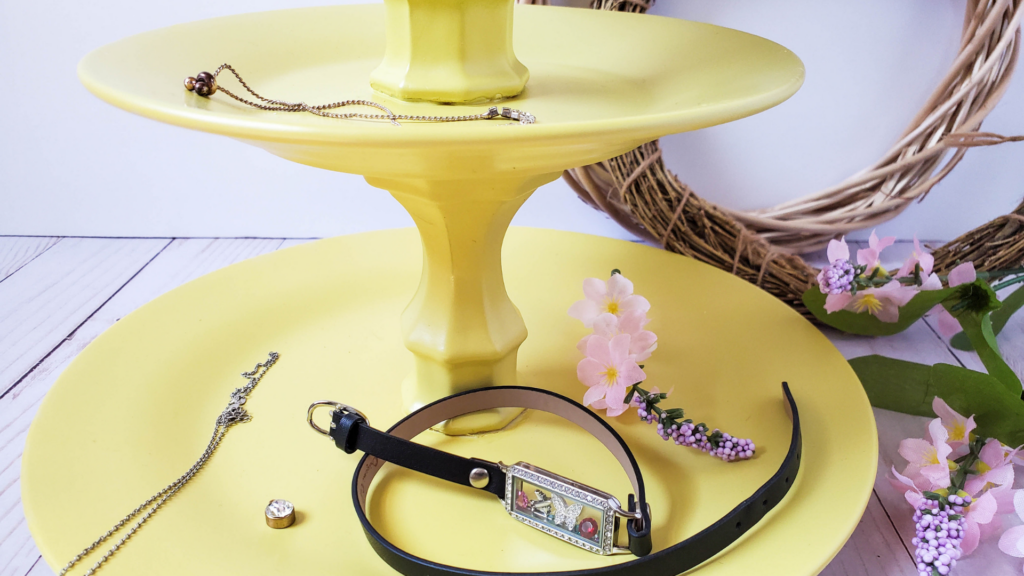
And that’s it! You’re done! But, make sure the paint is completely before setting your new tiered tray out.
More Fun Projects with Dollar Tree Supplies
- How to Make Paintbrush Gnomes
- Dollar Store Book Pumpkin Farmhouse Decor
- How to make Dollar Tree Light Up Toy Jars
Dollar Store Tiered Tray
Materials
- 1 dinner size white plate
- 2 side size white plates
- 2 clear candlesticks
- Gorilla glue
- Your favorite color spray paint
Instructions
- Begin by applying glue around the rim of the top of one candlestick and adhere it to the middle of the large dinner plate. Let set for a few minutes to dry a bit.
- Apply glue around the rim of the other end of the candlestick, and place one of the smaller plate centered on it. Let set for a few minutes to dry a bit.
- Apply glue around the rim of the top of one candlestick and adhere it to the middle of the smaller plate. Let set for a few minutes to dry a bit.
- Apply glue around the rim of the other end of the candlestick, and place the other smaller plate centered on it. Let set for a few minutes to dry a bit.
- Let the glue fully dry and work it’s magic overnight.
- Lay some newspaper or something down to protect your work space, and set the tiered jewelry tray on top of it.
- Shake the spray paint well, and spray your project.
- Allow the paint to dry, then flip over to paint the bottom.
- I recommend adding an extra coat of paint, for best coverage.
- And that's it! You're done!
Notes
Just so you don't get confused, please note that the candlesticks will be upside down in this project. So, make sure you do that when assembling the tiered tray.
Come Join Us
Liked this article and want more? Follow along on Instagram, Facebook, Twitter, Pinterest, and YouTube!